O Christmas Tree, O Christmas Tree

I have really been looking forward to sharing my finalized Christmas tree with y’all! This is the first year I decorate a tree from start to finish, other than the hot pink one my sister got me for my dorm room a million years ago that I decorated with paperclip garland. I tried to DIY as much of this as possible and I cannot wait to continue adding to it each year.

Without further ado, here is my Christmas tree 2012:

photo 4

And there it is! It’s a little puny, I think I am taller than it, which is odd because I know I am not 6 feet tall. But I still love it! I added on some pine garland to fill in the bare spots and used white lights all around. And check out my ornaments! I fall back in love with them every day. I also added in some poinsettias to fill the tree in thanks to a helpful hint from my friend Trippy, who you may remember from the first care package reveal. I think they add a really nice touch.

photo 3

Here it is at night. Before I added the new sequin star you see above that I scored at Big Lots for $4.20, SCORE!

photo 1

photo 2

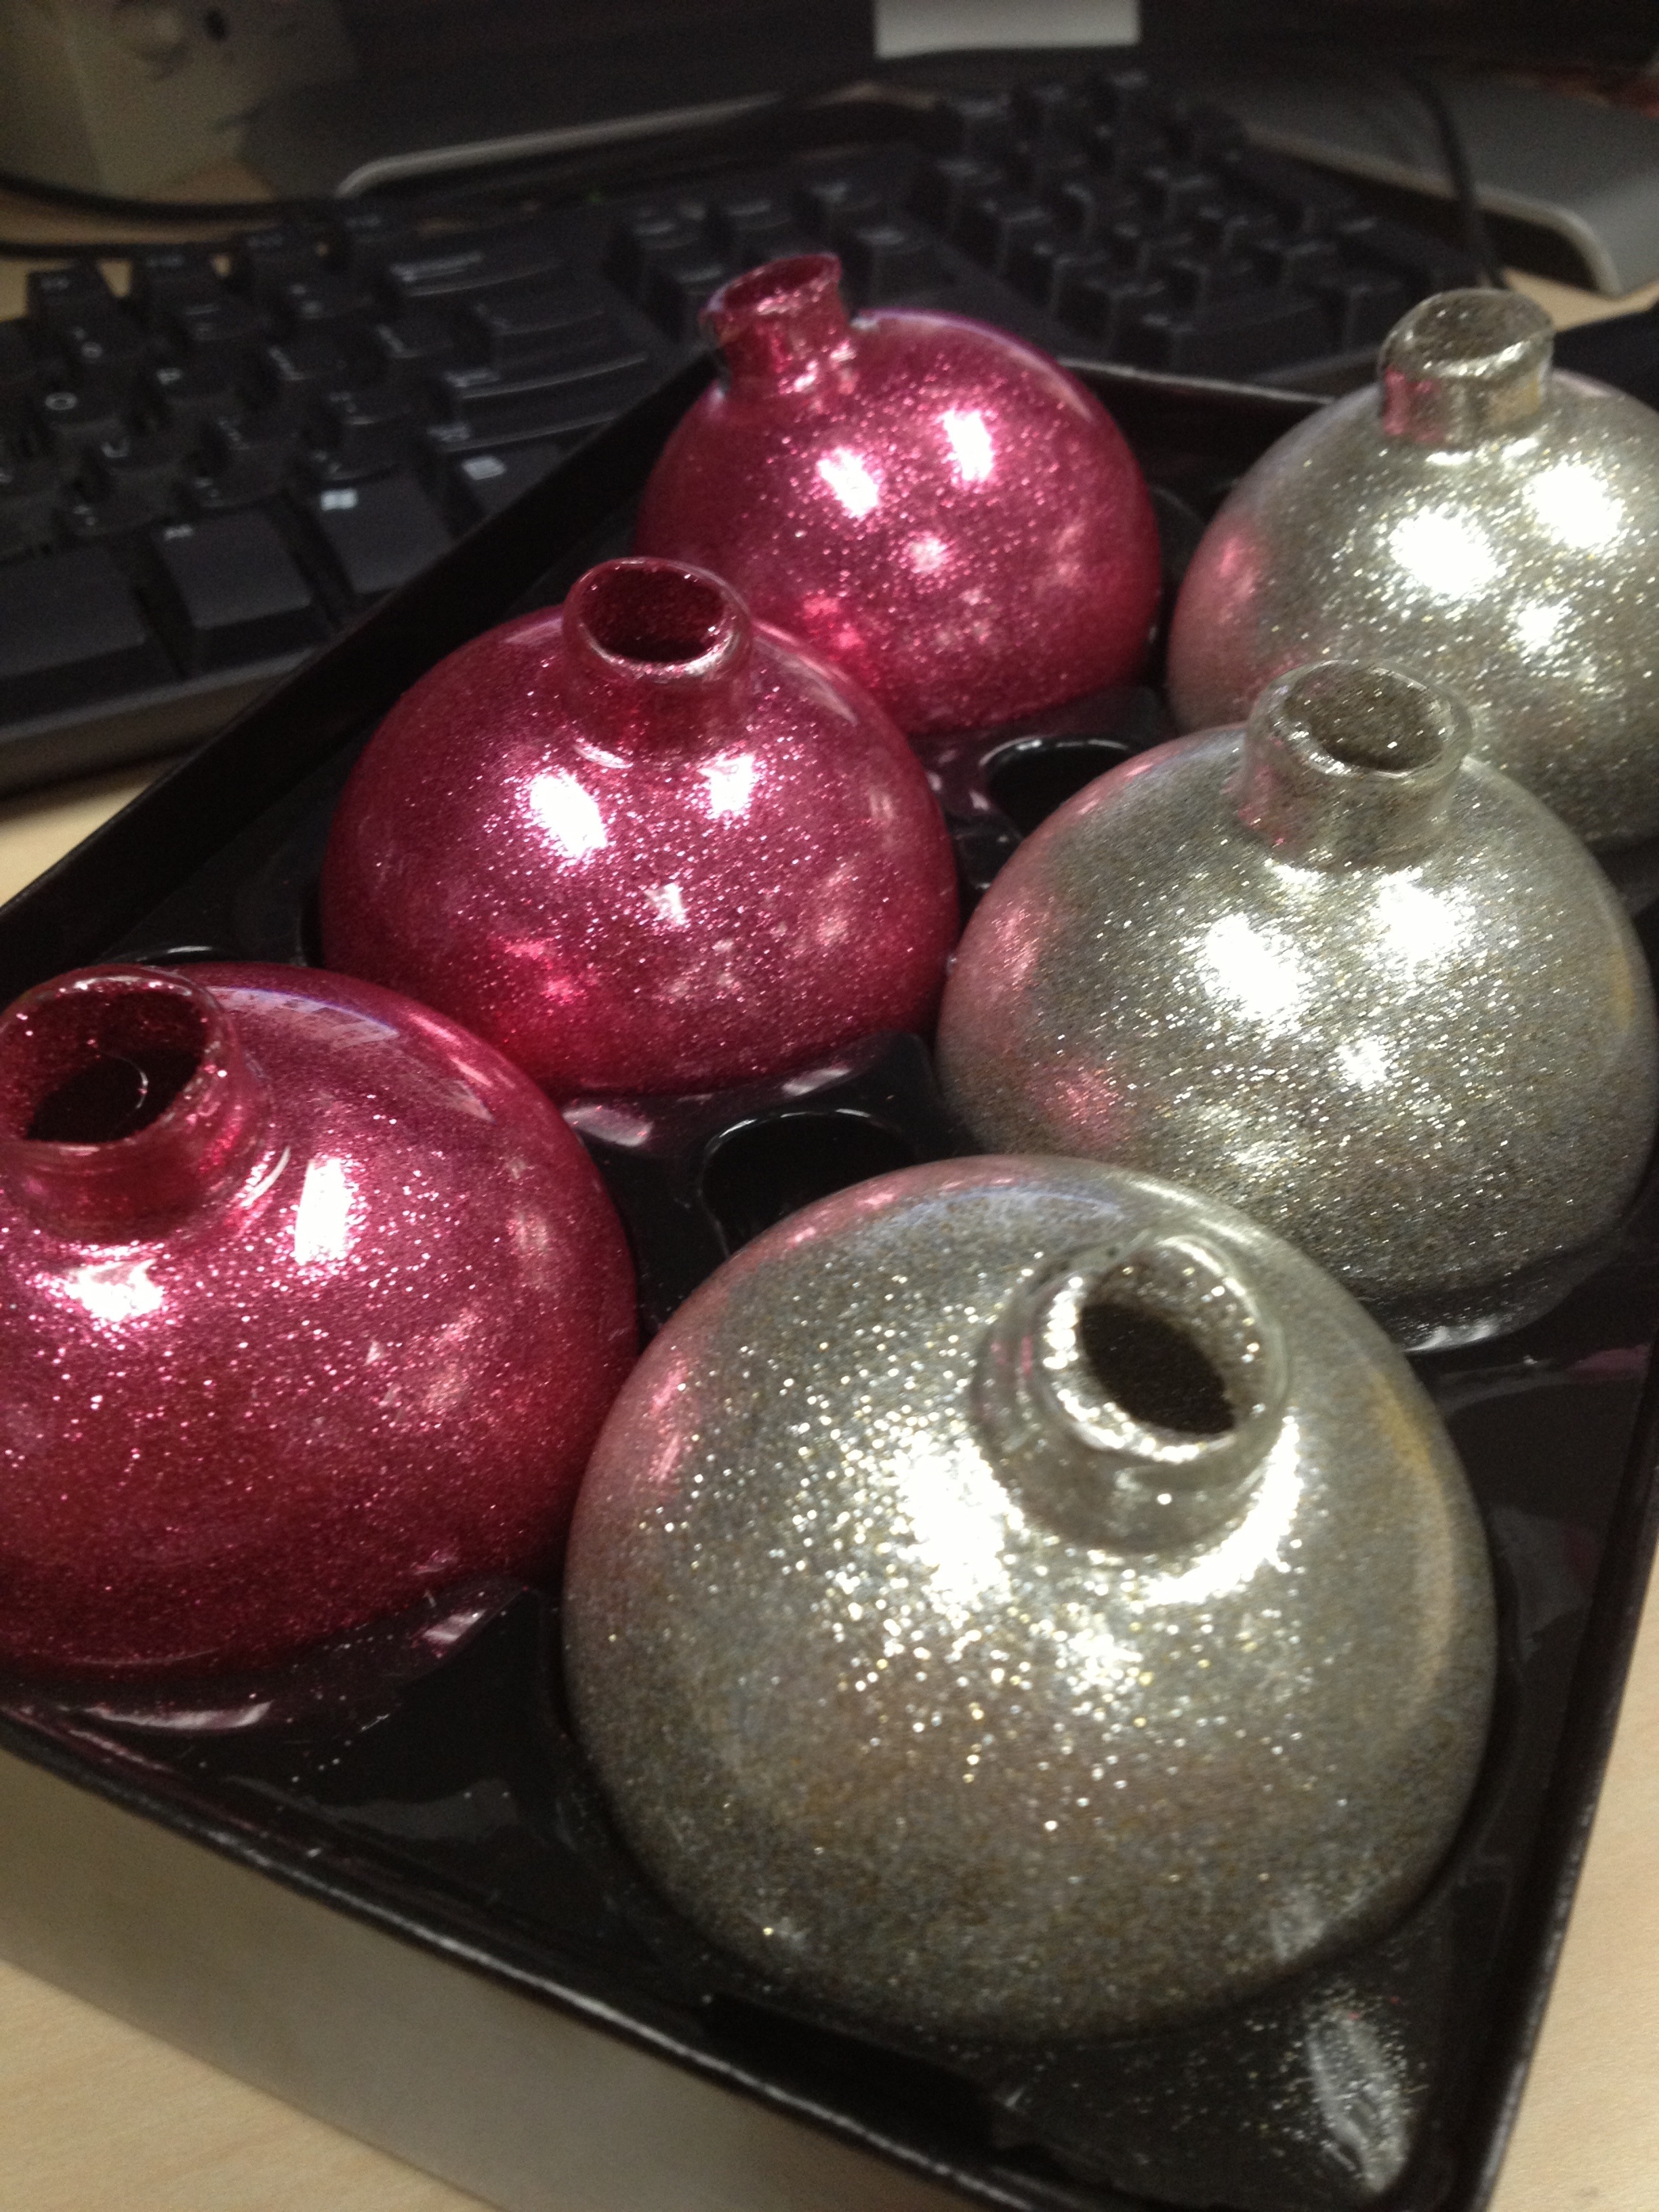
A few close ups of my glitter ornaments – all the sparkle I always crave without the mess!

photo 1

And the poinsettia 🙂 I am glad I chose the white flowers. I think they complement the raspberry and silver ornaments really well.

photo 5

And the sequin star! I instantly fell in love with it and not just because of the price. There is a Big Lots near my house that I walk to pretty often and browse through. This star was originally $6 which I already thought was a bargain with all that sparkle power. I found out at check out that Christmas decorations were 20% off and the star came out to $4.20.

photo 2

And once again, my tree up close. I love coming home every night, turning the tree on and watching my favorite winter time movies. I just love this time of the year!

I hope everyone is enjoying this beautiful holiday season as much as I am. Now I hope to finish my Christmas shopping this weekend and watch the present pile grow.

DIY: How to Make Glitter Ornaments

I have found myself wondering if most girls my age are as obsessed with glitter as I am. Of course my close friends are (it’s probably the only obsession we all share) but what about all other women in their early 20’s. A good friend of mine, who is not too happy to play around with this messy medium, likes to say that my favorite color is glitter. I have no reason to argue with her as I do often choose to add glitter to my wardrobe, accessories, and most of all my manicures.

I’d like to share my newest example showing my love for all things sparkly with y’all today. I found a great tutorial for mess free glitter ornaments. They provided all the sparkle I was looking for but hold the glitter inside to get rid of all the mess.

I worked on these at work and was able to snap a few pics of the process. Enjoy!

20121206-042558.jpg

20121206-042656.jpg

I gathered all my supplies. A package of six glass ornaments-$3 each at Big Lots. Pledge floor care-$4 at Walmart. Two small bottles of glitter-$5 for both (with a coupon) at Michael’s.

20121206-043150.jpg

I found that Martha Stewart’s glitters work best. They are regularly $5 each but I was able to use a 50% coupon for both, SCORE! For this set of ornaments I used white gold and tourmaline.

20121206-045124.jpg

I applied a generous amount of pledge into each sphere and rolled it around to make sure it covered all of the inside. Be careful not to shake it around too quickly so no bubbles form. Then I untwisted the cap off the bottle and let all the remaining liquid out.

20121206-045341.jpg

I love the shape of the ornaments. Such a traditional feel with a not so traditional twist. I cut an envelope in half and snipped a little piece off a corner and used it to funnel in the glitter. It’s ok to pour with a heavy hand since you really won’t need too much glitter to cover the surface.

20121206-051040.jpg

Next I shook the ornament all around to make sure everything was covered. Then I let the excess glitter fall back into the bottle.

20121206-051455.jpg

And that’s it! Here are the two sets I made in both colors. I love them so much! I left them to dry for about an hour, just to be safe, and popped in the topper.

20121206-051702.jpg

Voila! A close up of my beautiful new ornaments!

This project took me about an hour and a half to complete. Most of it was just waiting around for them to be dry. It was also super inexpensive. I made 18 ornaments for $18! That’s a dollar an ornament! Not too shabby.

I can’t wait to reveal my first Christmas tree to you all! Has anyone else taken the DIY route for their ornaments? Feel free to share what you decided for this year! I will talk to y’all soon!