DIY: How to Make Glitter Ornaments

I have found myself wondering if most girls my age are as obsessed with glitter as I am. Of course my close friends are (it’s probably the only obsession we all share) but what about all other women in their early 20’s. A good friend of mine, who is not too happy to play around with this messy medium, likes to say that my favorite color is glitter. I have no reason to argue with her as I do often choose to add glitter to my wardrobe, accessories, and most of all my manicures.

I’d like to share my newest example showing my love for all things sparkly with y’all today. I found a great tutorial for mess free glitter ornaments. They provided all the sparkle I was looking for but hold the glitter inside to get rid of all the mess.

I worked on these at work and was able to snap a few pics of the process. Enjoy!

20121206-042558.jpg

20121206-042656.jpg

I gathered all my supplies. A package of six glass ornaments-$3 each at Big Lots. Pledge floor care-$4 at Walmart. Two small bottles of glitter-$5 for both (with a coupon) at Michael’s.

20121206-043150.jpg

I found that Martha Stewart’s glitters work best. They are regularly $5 each but I was able to use a 50% coupon for both, SCORE! For this set of ornaments I used white gold and tourmaline.

20121206-045124.jpg

I applied a generous amount of pledge into each sphere and rolled it around to make sure it covered all of the inside. Be careful not to shake it around too quickly so no bubbles form. Then I untwisted the cap off the bottle and let all the remaining liquid out.

20121206-045341.jpg

I love the shape of the ornaments. Such a traditional feel with a not so traditional twist. I cut an envelope in half and snipped a little piece off a corner and used it to funnel in the glitter. It’s ok to pour with a heavy hand since you really won’t need too much glitter to cover the surface.

20121206-051040.jpg

Next I shook the ornament all around to make sure everything was covered. Then I let the excess glitter fall back into the bottle.

20121206-051455.jpg

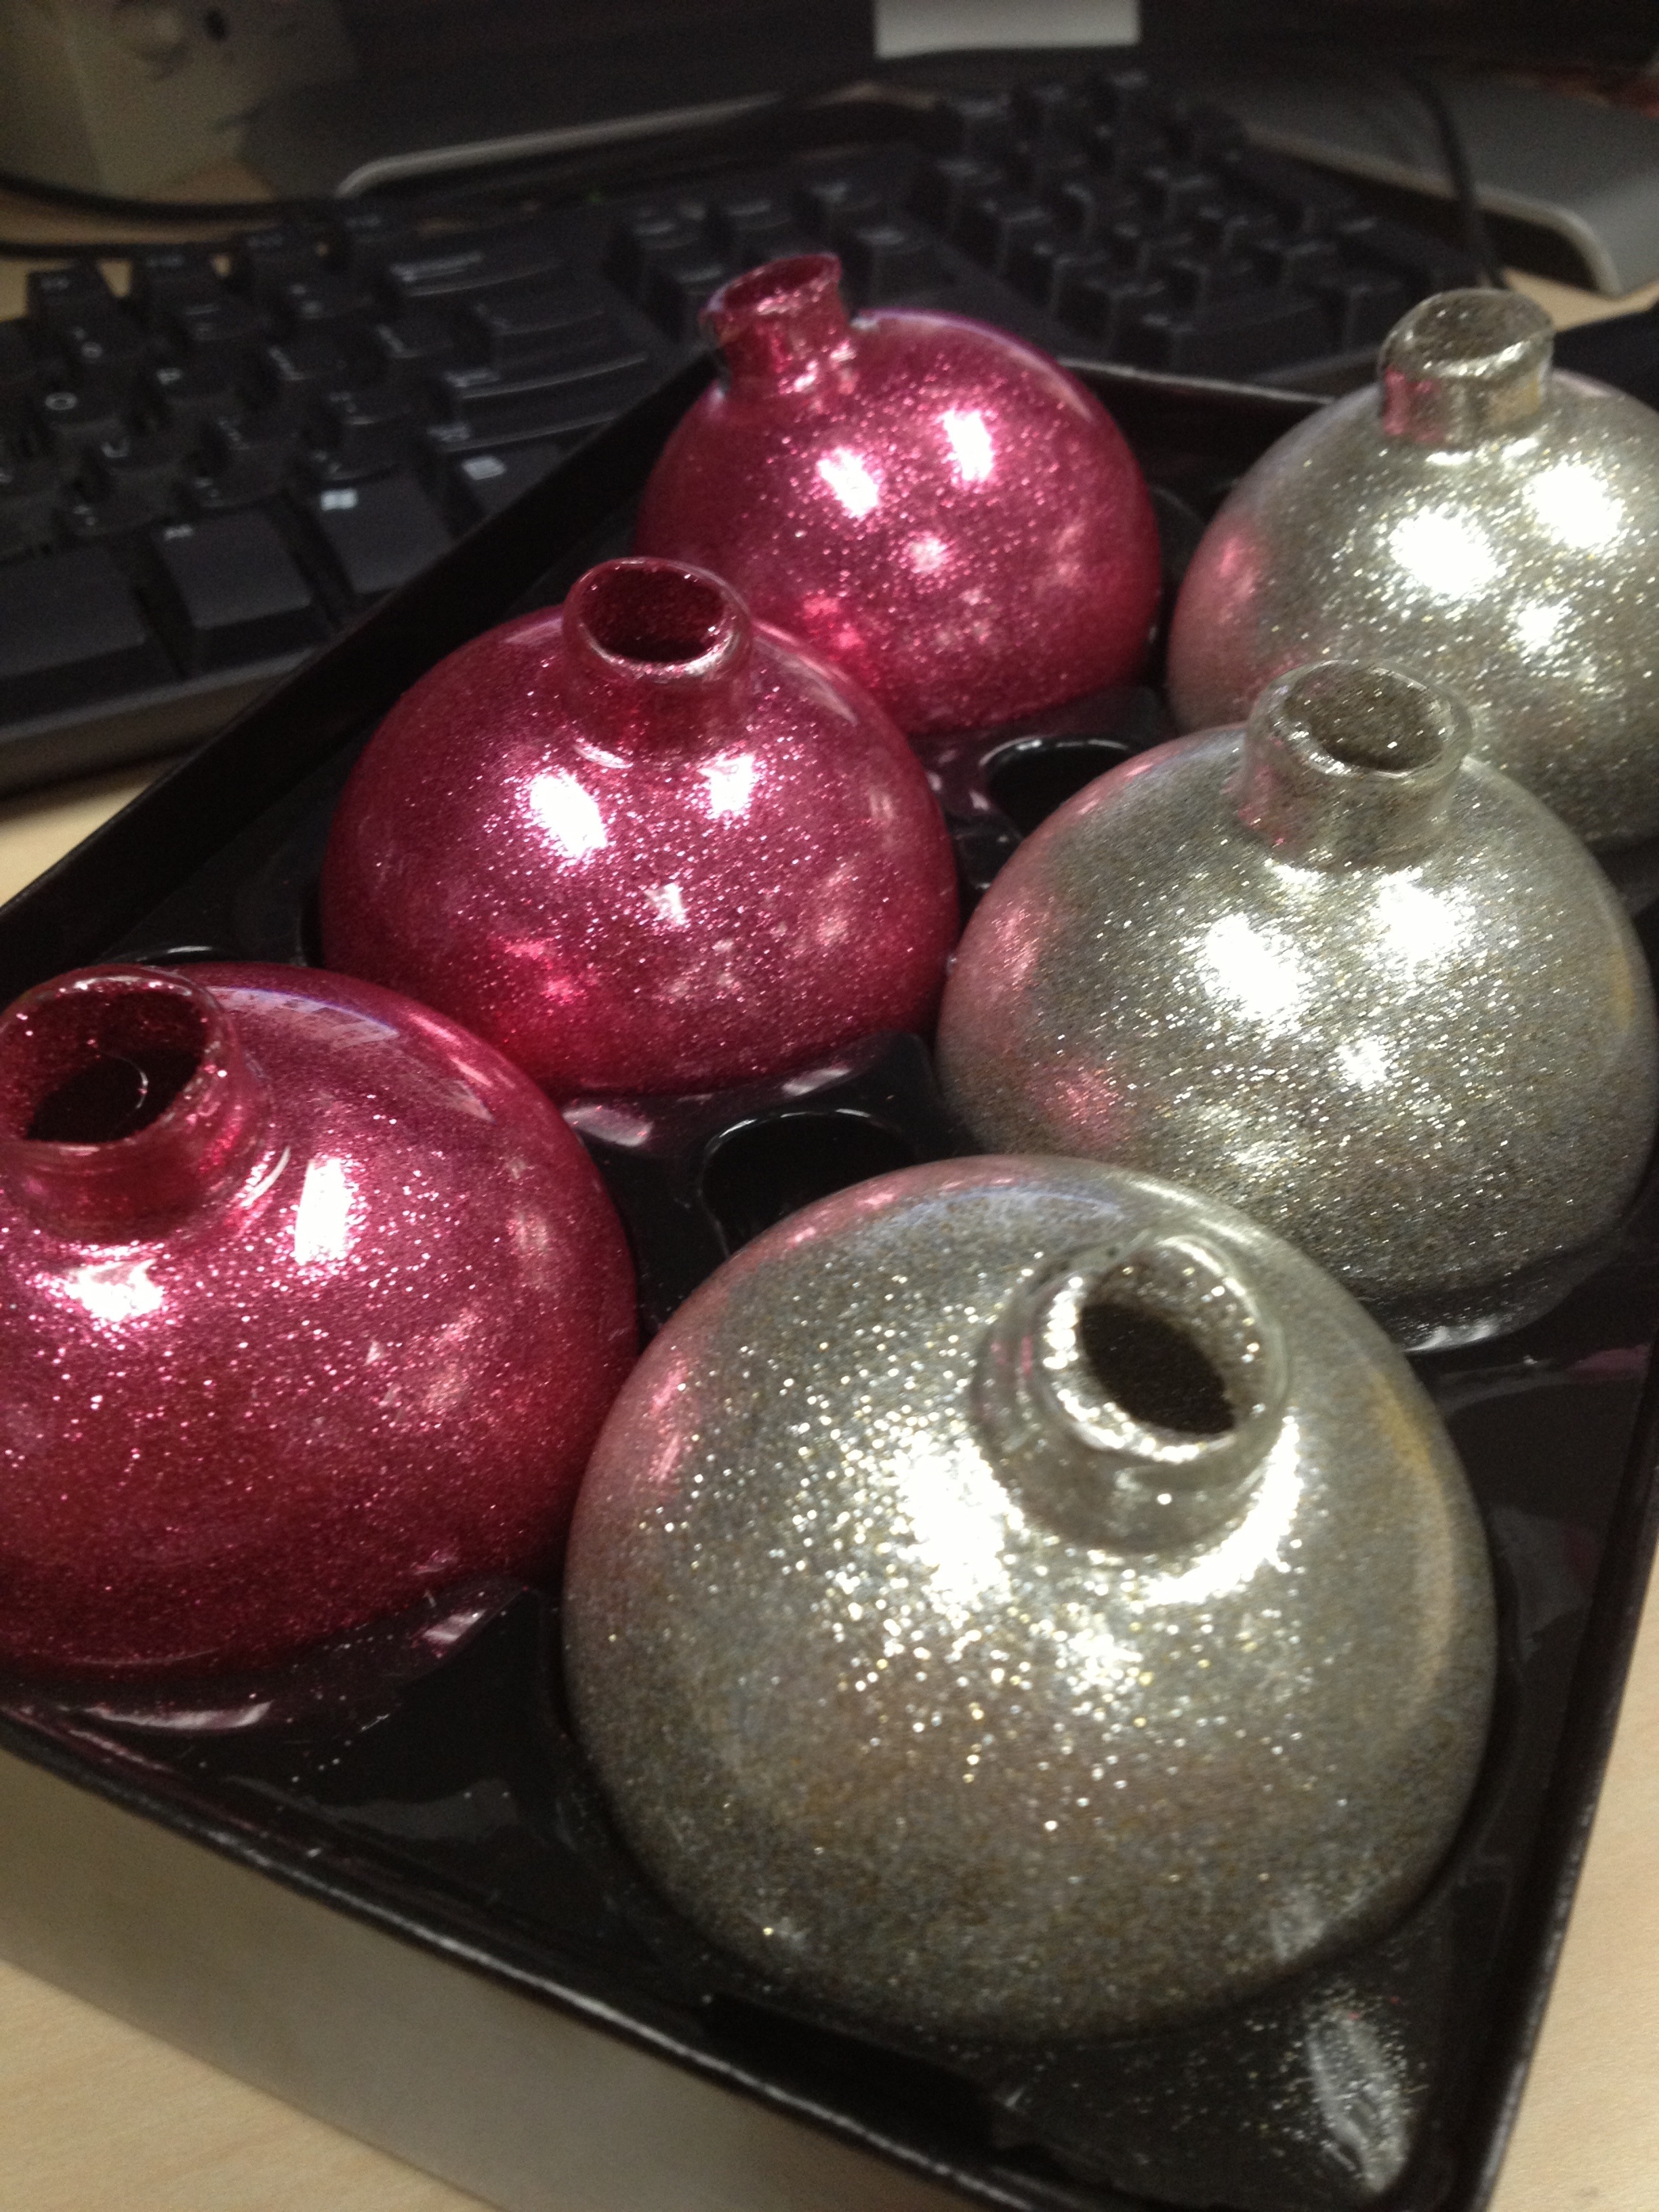
And that’s it! Here are the two sets I made in both colors. I love them so much! I left them to dry for about an hour, just to be safe, and popped in the topper.

20121206-051702.jpg

Voila! A close up of my beautiful new ornaments!

This project took me about an hour and a half to complete. Most of it was just waiting around for them to be dry. It was also super inexpensive. I made 18 ornaments for $18! That’s a dollar an ornament! Not too shabby.

I can’t wait to reveal my first Christmas tree to you all! Has anyone else taken the DIY route for their ornaments? Feel free to share what you decided for this year! I will talk to y’all soon!

DIY: A wreath fit for fall

I am so excited to share my newest DIY project. I have decided to decorate for the seasons this year, including the two weeks of fall Central Texas gets each year. I think making wreaths is my new favorite thing to do! Christmas wreath making party anyone? I’ll stop yapping and show y’all my creation.

I followed the amazing tutorial found on pinterest from homemade by jill. Make sure to check out how hers turned out!


The original tutorial used loose glitter on cardstock, I decided to cut one step out and found glittered cardstock in the scrapbook aisle. There was glitter everywhere!

I cut out a leaf shape from each color. This actually proved a little harder than I thought it would! I ended with a total of 72 leaf shapes, 18 in each color. I could not figure out a way to make each leaf the same shape. I decided to accept it and it was actually really helpful that they were not identical once I started placing them on the wreath form.

The next step was to pop in season 3 of Friends and watch the “We were on a break” episode on repeat. Oh and also to heat up my hot glue gun and get to work. I started off with all four colors in a row and filled in the rest.

This was seriously so quick to do. I think I spent about 5 minutes to get to that point.

And then I decided to start the other way. I followed the original tutorial here because I really like the effect of it meeting at the top.

After gluing all the leaves around the wreath form and wiping my eyes and finally watching the next episode, I glued on the bow. I decided to buy a pre-made bow because my bow making abilities are just as bad as my leaf cutting abilities. Also, I fell in love with this glitterful bow! And I feel you can never have too much glitter, although my carpet my disagree.

I borrowed the wire from the bow and made a little loop to make the wreath a lot easier to hang. Now my wreath holder won’t damage any of the leaves!

Et Voila! Here is the finished product! I love how much sparkle is on my door right now!

A la instagram!

This was such an easy and inexpensive project. It was also a lot of fun! I spent about 2 hours, most of which were spent cutting the leaves. It cost a total of $15 to achieve this look since I already owned the hot glue gun and the wreath holder that I purchased at the dollar tree. Each piece of cardstock was $2 which is a little pricey in my opinion but totally worth it to cut out the extra step and the glitter did not fall off as much as the fine glitter usually does. The wreath was purchased with a 50% off coupon thanks to the Michael’s app (LOVE this app).

I wish this could stay up longer but I am excited for my upcoming Christmas wreath! I hope y’all enjoyed this as much as I have! I can’t wait to share the other things I have been working on!

Til then, hope everyone is having a great week!